
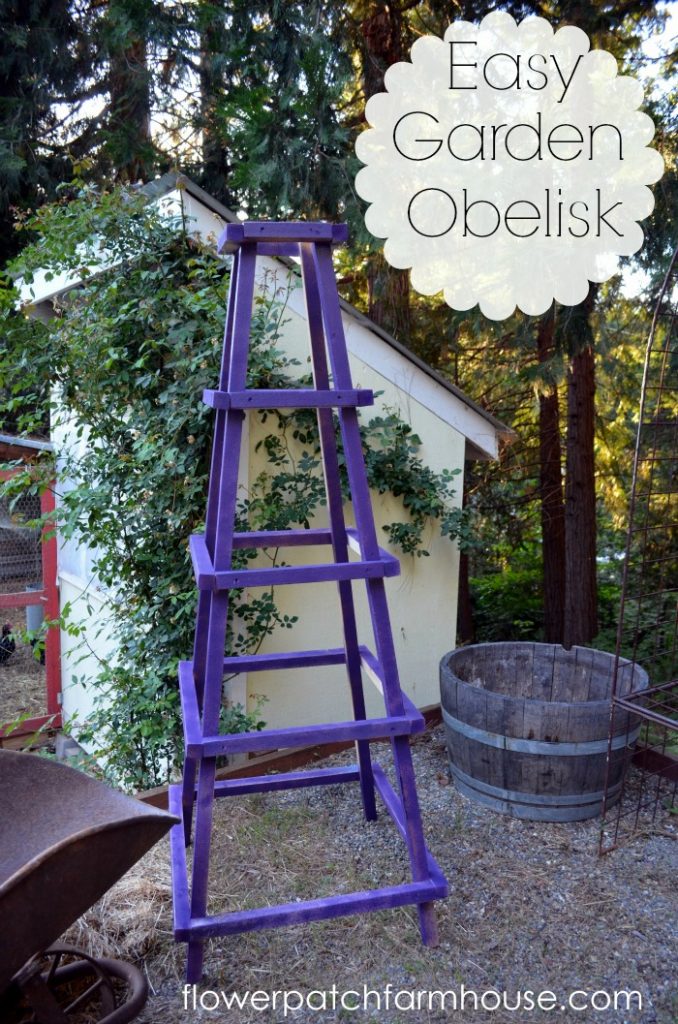
Why do I call it easy???
Because unlike all the obelisk plans I found online this one has no angle cuts.
Since it is going in the garden and I plan on it being covered with something that climbs I did not care if edges matched up precisely or were perfectly mitered.
I wanted fast and easy…
Want to see how we built it?
The photos are not the best but I had to take them in less than optimum light.
Materials:
- 8 – 8 ft 2 x 2’s (I think these are pine or fir)
- 3 inch wood screws
- Wood Glue
Cut 4 – 2 x 2’s @ 72 inches long (legs)(you can adjust to height you wish)
Rungs for ladders:
- 2 @8 inches,
- 2 @11 5/8 inches,
- 2 @ 15 5/8 inches,
- 2 @19 3/4 inches,
- 2 @ 24 inches
Second set of rungs to attach ladders together:
- 2 @ 1 1 inches,
- 2 @ 14 5/8 inches,
- 2 @ 18 5/8 inches,
- 2 @ 22 3/4 inches,
- 2 @ 27 inches
Now that you have your pieces cut you are going to build a ladder.
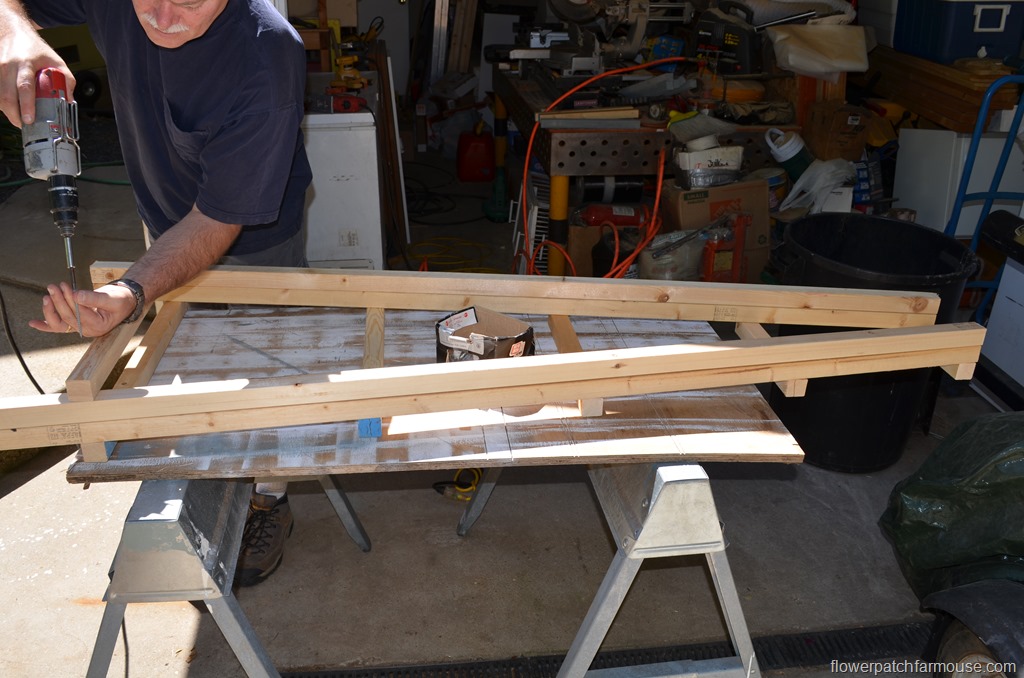
Lay 2 of the 72 inch pieces on a flat table.
We used the edge of the table as a straight edge.
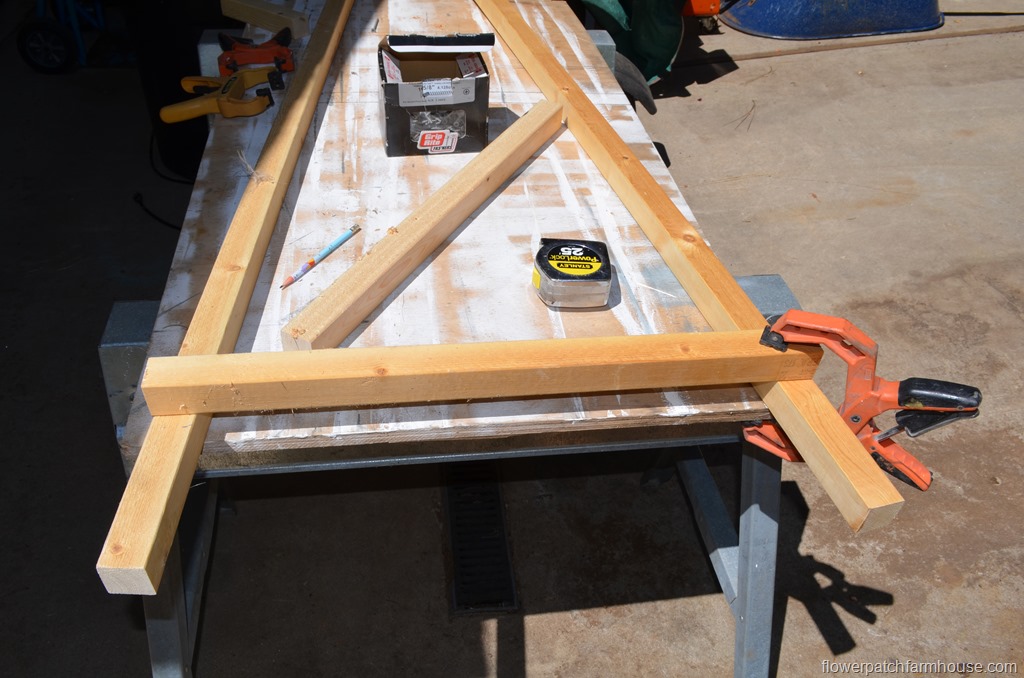
Measure up 6 inches from the bottom of both legs for placement of the bottom rung or crosspiece.
Fasten the rung to the legs. (24 inch piece) I would recommend pre-drilling but my husband cheats.
When I make the next one I will pre-drill.
He is screwing in at an angle to prevent splitting (it does not always work, shh don’t tell him I told you)
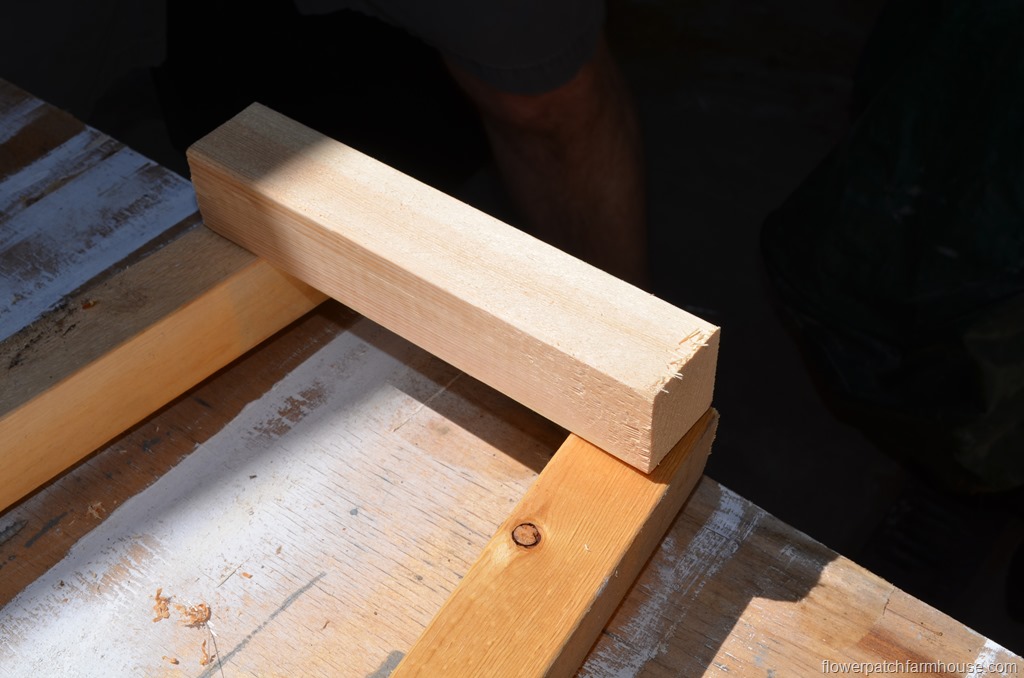
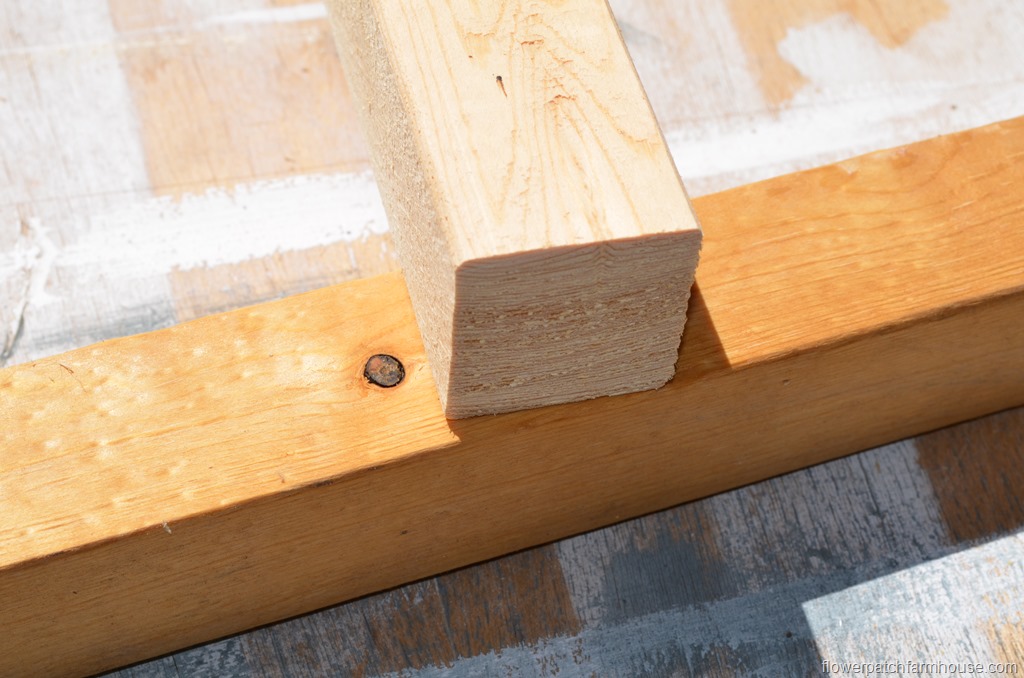
Since the legs are at an angle and the cross pieces are cut square we only line up the top corner to the edge of the leg. The gap you can see will be covered later.

We start with the lowest rung then attach the top rung. (8 inch piece) Same deal, again match up the top corner.
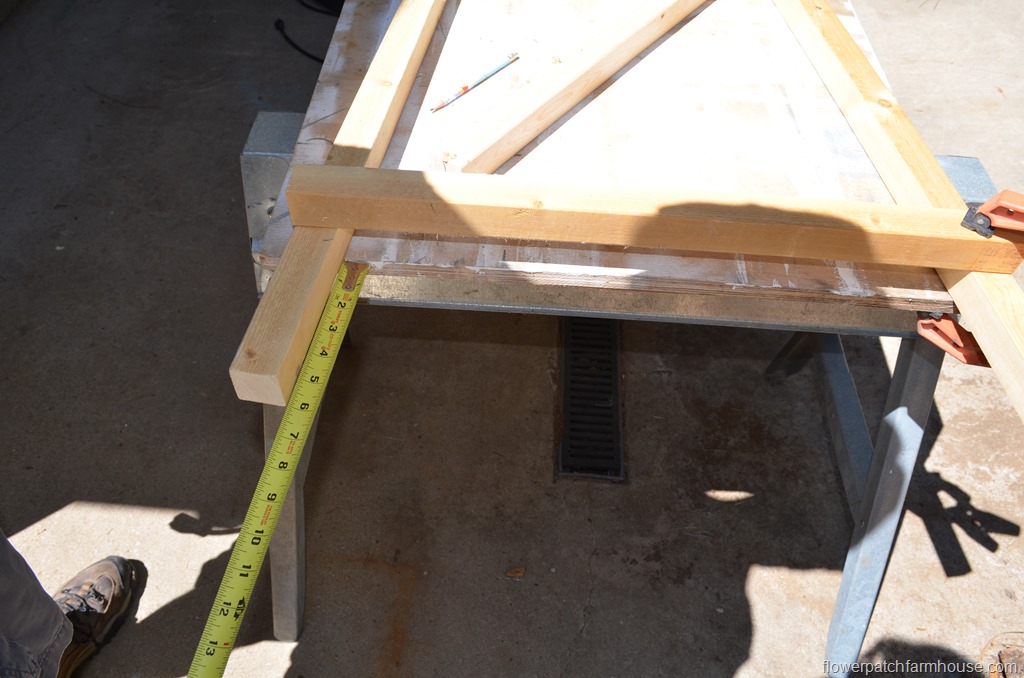
Check for square, you do that by taking measurements on the diagonal and adjusting the legs until the measurements match as closely as possible.
The adjusting is called racking, you push on the corner that has the longer dimension (if they don’t match) by half the distance.
(clear as mud??)
example: If one side is 1/2 inch longer push the corner a 1/4 inch then re-measure (it is not an exact science but it will bring it closer to square) Keep racking until dimensions are equal or very close.
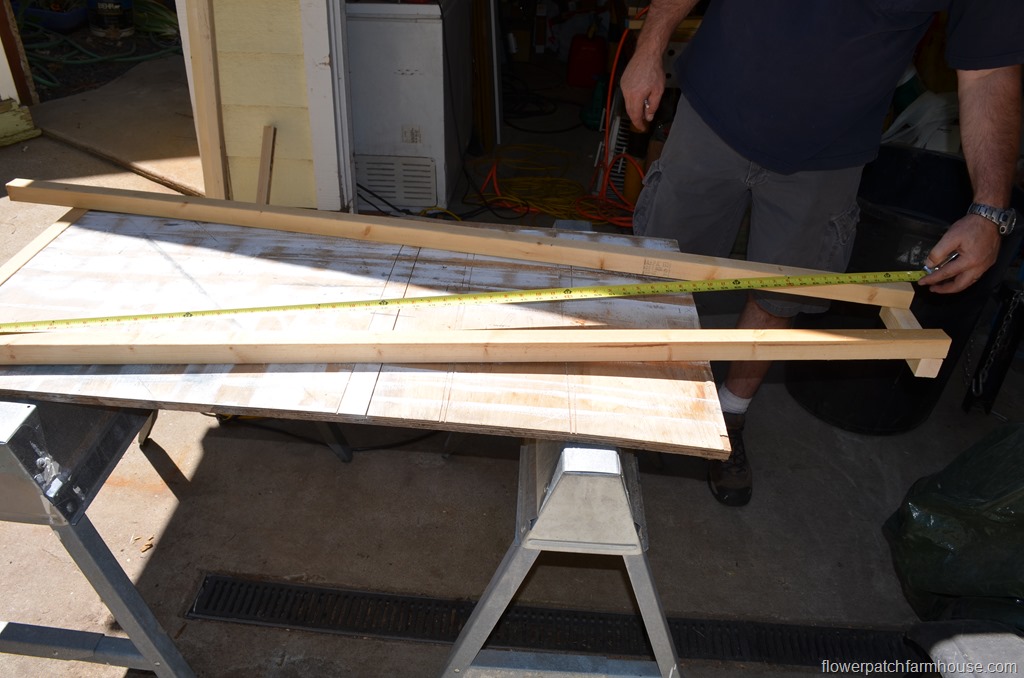
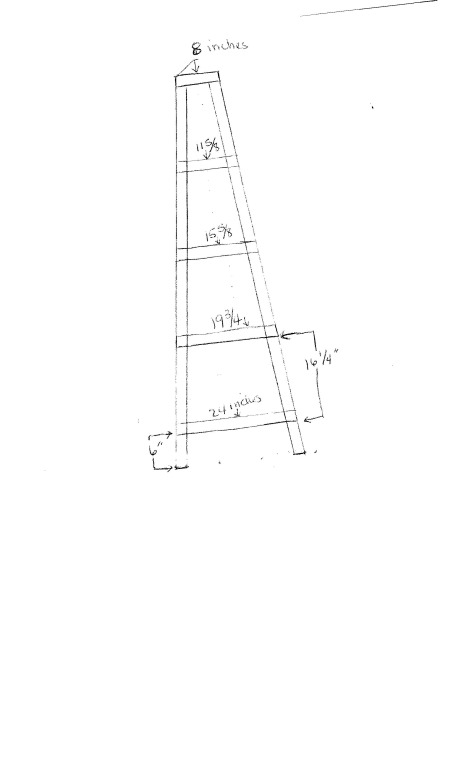
We measured from the bottom of the bottom rung and the top of the top rung (hook your measuring tape on the bottom rung and pull it to the top of the top rung and read) We divided that measurement by 4 to get our placements for the rungs.
Ours were 16 1/4 inches apart.
We marked the spots for each rung.
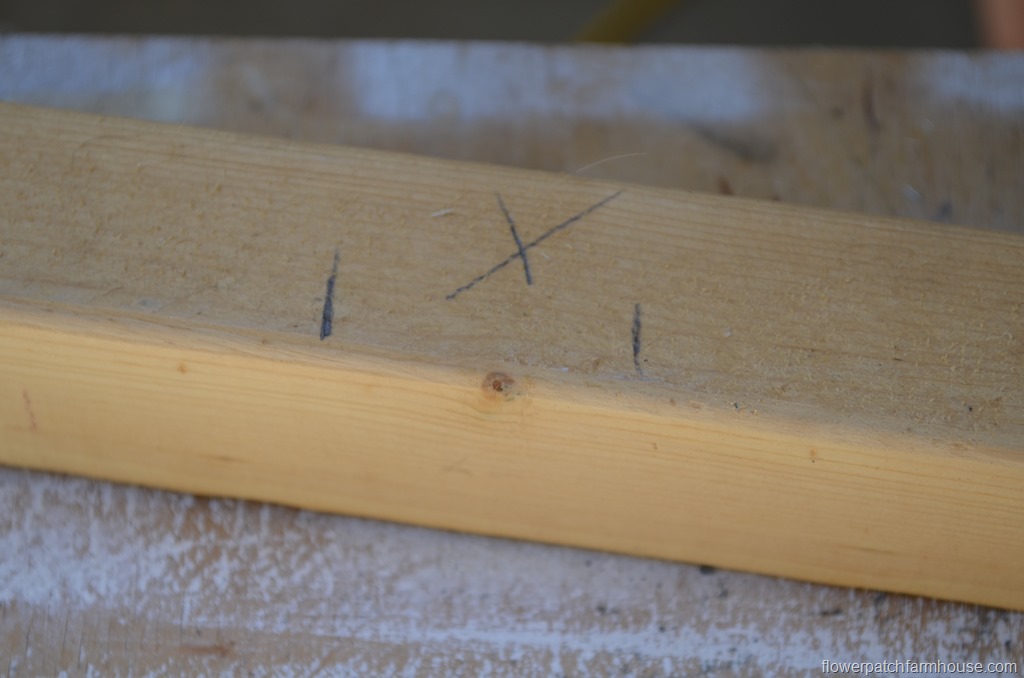
The placements of the rungs is from the bottom rung at 16 1/4”, 32 1/2” 48 3/4” (see sketch at bottom of page)
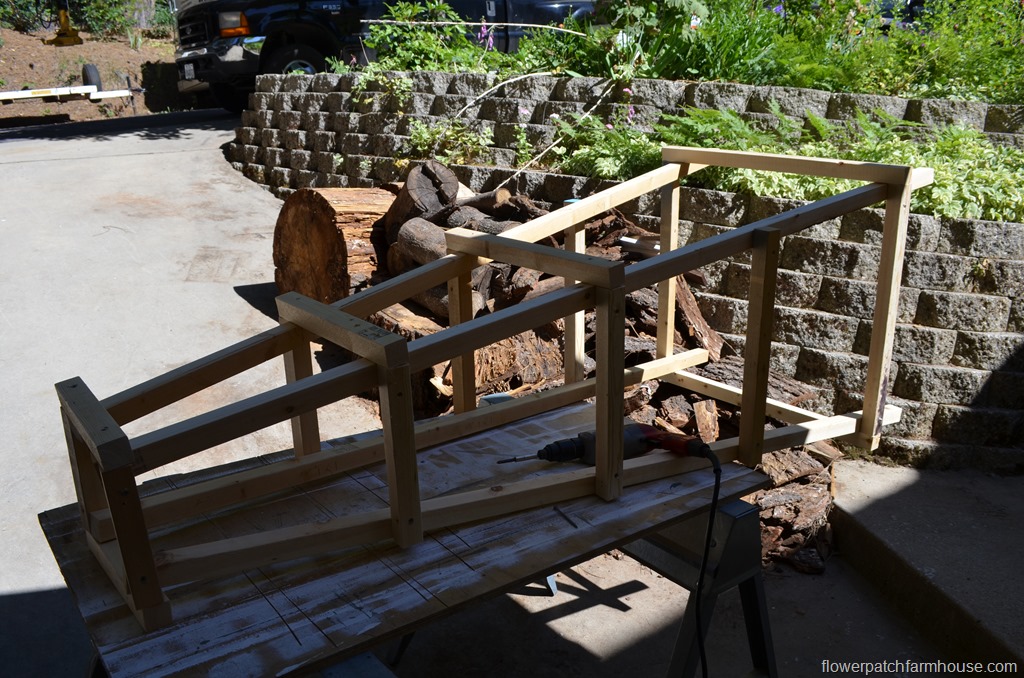
Now you should have your first ladder built.
The really sweet part of this is the next ladder will be a piece of cake.
Use the first one as a template. No measuring or figuring this time.
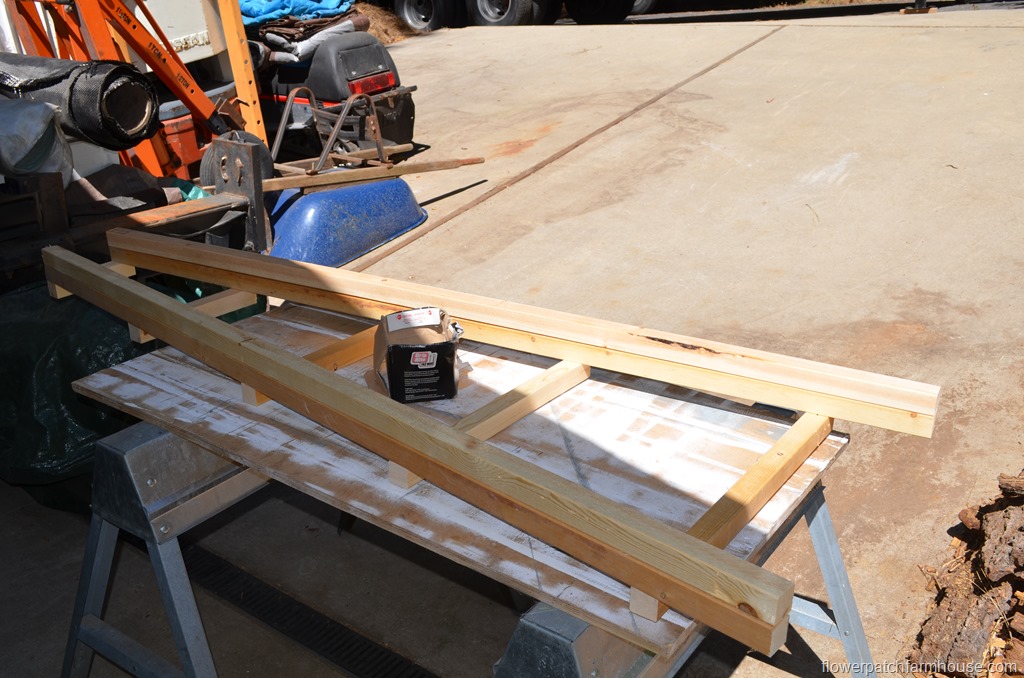
Lay your 2 x 2’s right on the ladder you just built. Just whip along matching board for board and your second ladder will be complete in no time.
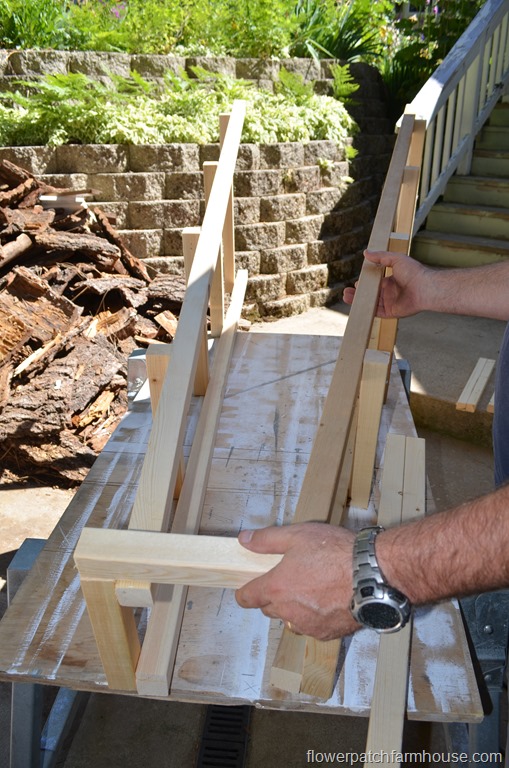
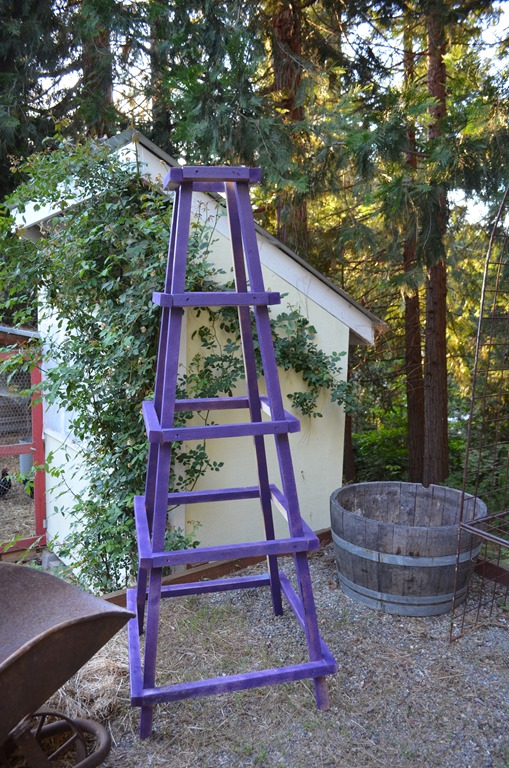
This set of rungs are 3 inches longer than the ladder rungs, they will overlap the first set as you see in the photo.
I have considered cutting out a silhouette of a flying pig and attaching it.
Maybe make it a weather vane but that is for another day.
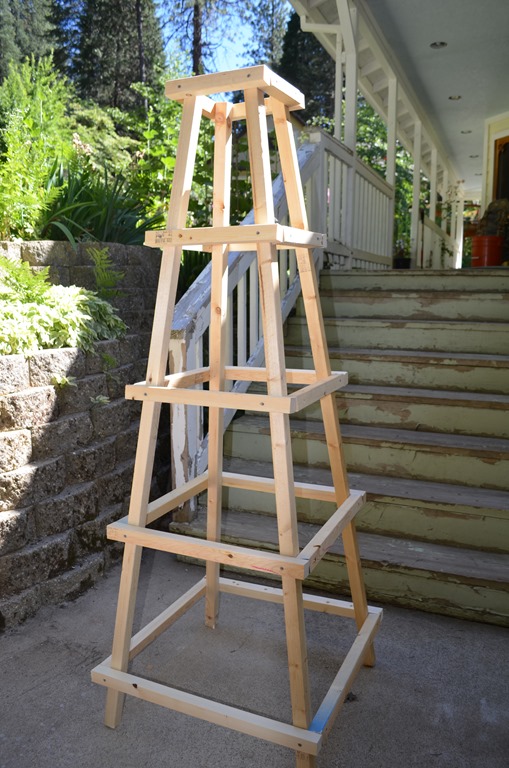
Now paint it whatever color you wish. I would recommend painting or using a protective oil (tung oil) on this since is it just pine.
If it was redwood or cedar you could just let it weather.
So the total for this project for the lumber was about $20.
We had the 3 inch screws on hand and I drug out an old can of spray paint.
Now I just need to build a couple more and I am set.
Here is a rough sketch of the first ladder if a visual will help you.
Happy building.
For a downloadable PDF of this post please CLICK HERE
If you enjoyed this Please PIN and share!
Original article and pictures take http://www.flowerpatchfarmhouse.com/easy-garden-obelisk/ site
Комментариев нет:
Отправить комментарий