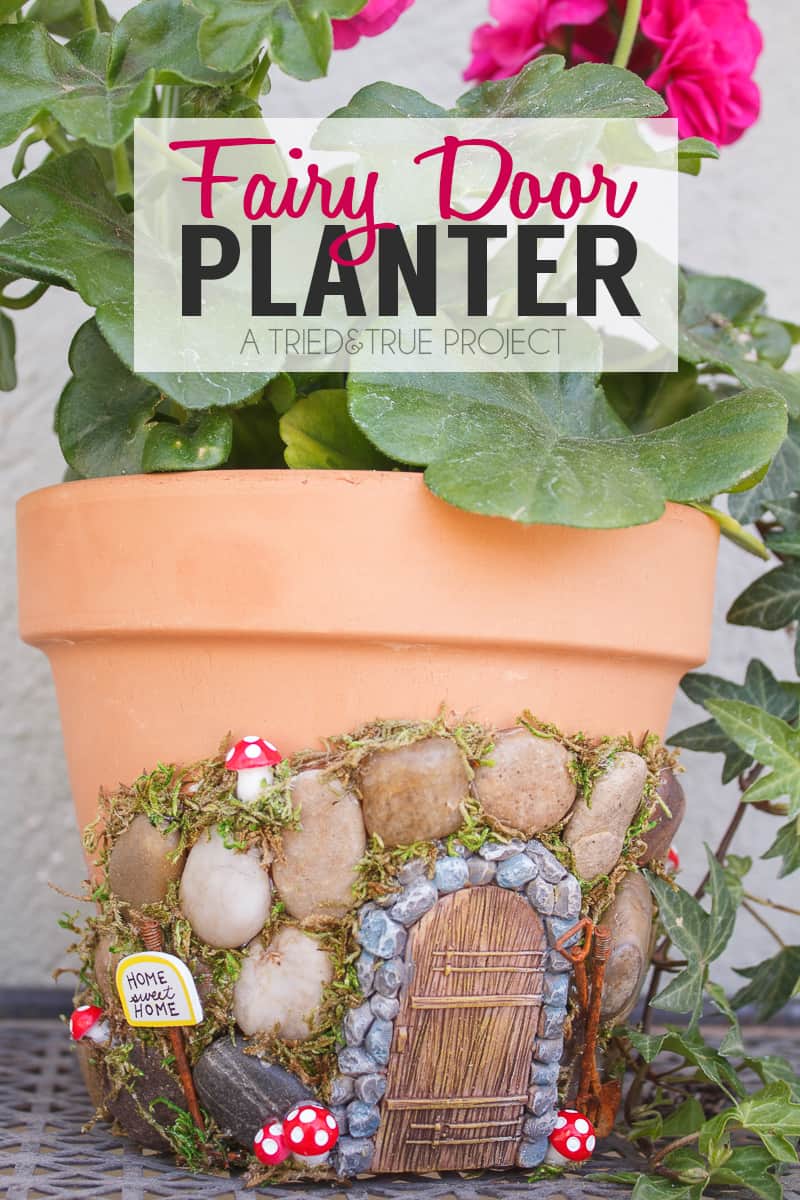
Are you crazy about the Fairy Garden trend that’s so popular now? I don’t care if everyone and their mother is making them, I still love the sweet little gardens so much! I decided to add the whimsy of a Fairy Garden to a practical terra cotta planter so that I could still use it for flowers. This Magical Fairy Garden Planter is still adorable but now I can use it for years to come!
This post originally appeared at Crafts Unleashed and contains affilite links.
Magical Fairy Garden Planter
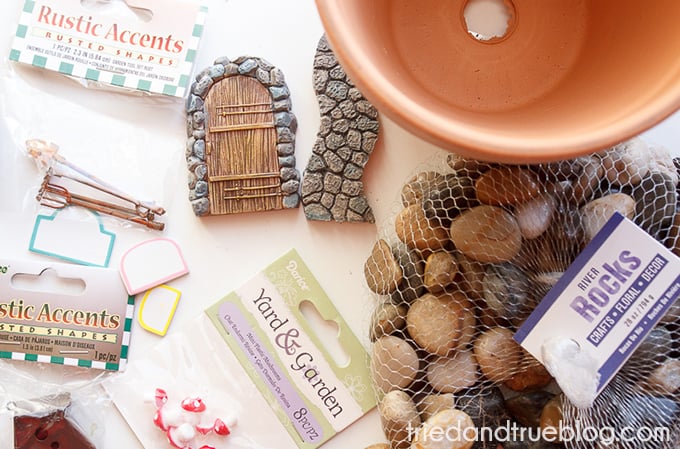
Materials:
Step One. A quick word about the supplies. There are so many different Fairy Garden accessories for you to choose from so the supply list I created above is really just suggestions. You are, of course, more than welcome to use a differently shaped door or maybe add some small flower accents. Totally up to your whims and desires!
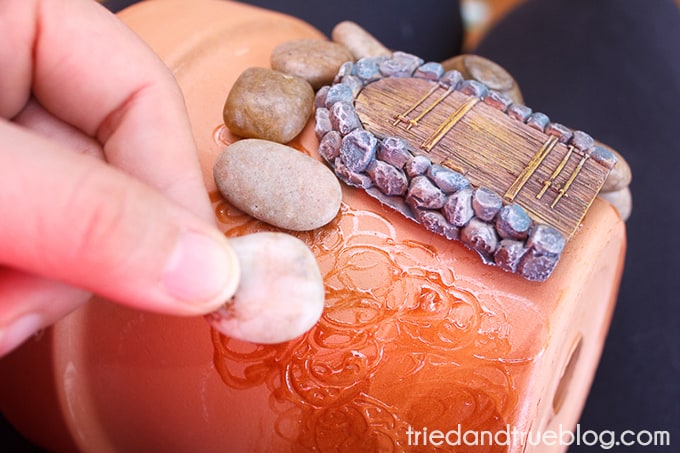
Step Two. Use the Gorilla Glue to begin adhering the door and stones in place. I’m not going to lie, this step is somewhat tedious and time-consuming since you’ll have to hold each item in place until the glue dries a bit. I tried a number of options and Gorilla Glue worked the best but it did take a while to set. Don’t worry, though, once you’ve finished gluing, all the other steps are super easy!
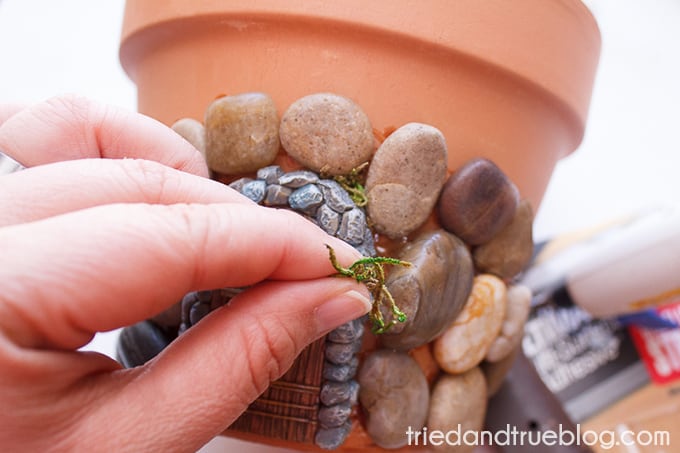
Step Three. Once the glue has dried completely, apply a good amount of hot glue in between a couple crevices and then quickly press a small clump of moss in between. Continue this process until all the spaces have been filled. If you’re worried about using this pot outdoors with hot glue, you can also use a stronger glue to apply the moss. I’ve had mine outside in triple digit heat and haven’t had a problem yet!
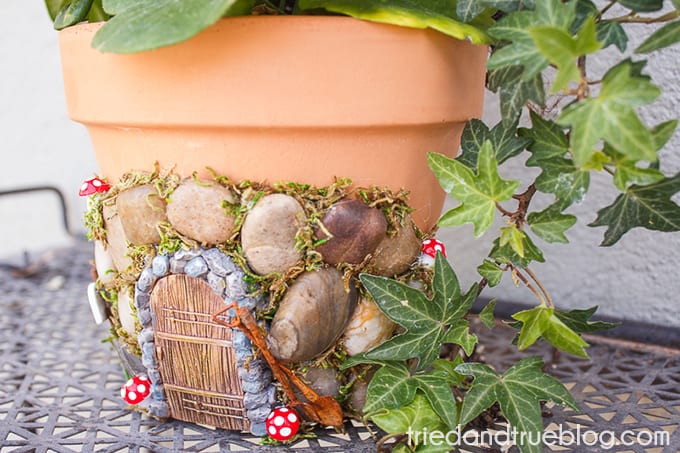
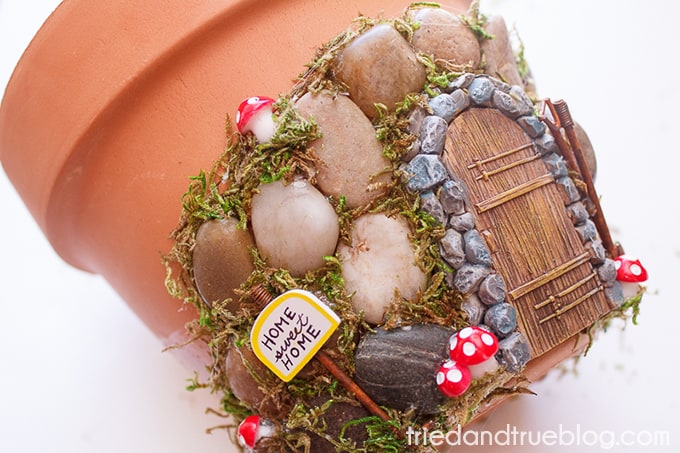
Step Four. Add the final accents until you’re happy with the look. Again, I used hot glue to adhere the mushrooms, garden tools, and sign in place and haven’t had any problem. I gotta tell you that the miniature mushrooms are my absolute favorite part of this Magical Fairy Garden Planter!
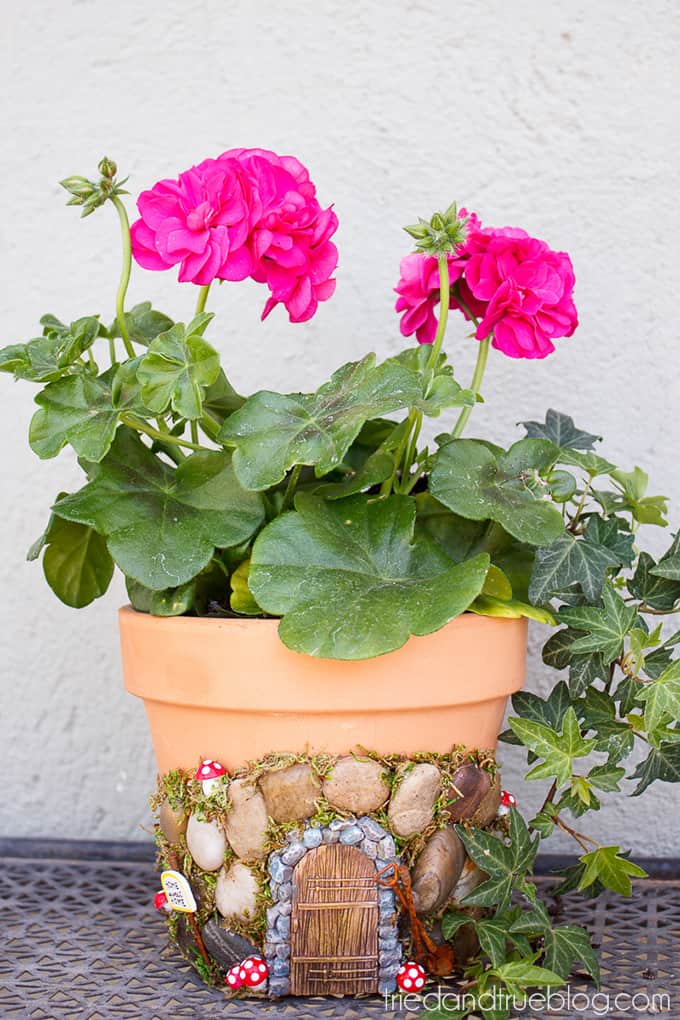
Step Five. The last step is to add a plant and enjoy! You’ll have to seal the inside of the pot with a couple coats of clear sealant if you’re not planning on using a plastic insert.
Fairy Gardens Forever
And there you have it, a super cute Magical Fairy Garden Planter that can be used with any type of plant you’d like. How cute would a variety of these pots look inside of an actual fairy garden? I know what I’ll be making as soon as I have some spare time (when the kids go back to school!)
Original article and pictures take http://www.triedandtrueblog.com/magical-fairy-garden-planter/ site

Комментариев нет:
Отправить комментарий